When we think about website popups, we tend to visualize those single page opt-in forms, asking for your name and email address, when we visit blogs.
In this article, I’ll be guiding you how to boost your conversions with the use of these multistep popups. But first, let’s talk about what a multistep popup is, and why this method works in increasing your conversions.
Video: Multi-Step Popup Opt-ins
What is a Multistep Popup
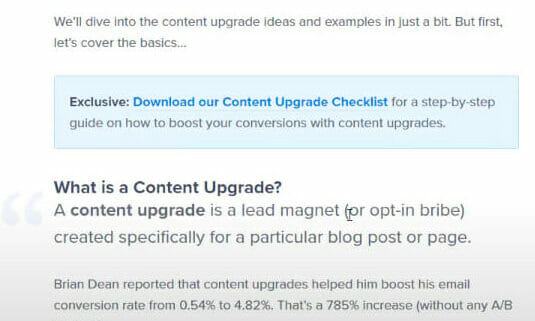
A multistep popup generally starts out as a link or a button, and has two to three phases. First, your website visitor (or the user) clicks the link or button. Next, they follow the Call to Action you’ve provided in the popup, which usually urges them to fill out a form. After which, a “Thank You” message would be displayed, or they would be redirected to the reason why they clicked on the link in the first place.
So, why does the multistep popup work when increasing conversions? It’s because of the Zeigarnik Effect. Named after Lithuanian psychologist Bluma Zeigarnik, the phenomenon basically suggests that the human brain is bothered when something is incomplete. Now, how do we relate this to multistep popups and increased conversions?
A multistep popup is basically the Zeigarnik Effect in practice. You basically prod the user to begin taking action on your page, and continue it until they see through it. For example, they see a link, which offers something that piques their interest. Naturally, they would click it, and a popup appears, asking for their information. Because their brain is already in a state of expectation, and has the urge to get what they clicked the link for, the user will most likely fill out the form to complete that action.
The Two Best Kinds of a Multistep Popup
There are two kinds of multistep popup you can use for your website. First is the link-based multistep opt-in, which tells the user exactly what it offers. When clicked, this link will prompt a popup to appear.
Another kind of multistep popup is the Yes/No opt-in, which usually appears a few seconds after you visit a page. It usually uses a tactic where they phrase the yes or no answers in a way that discourages you from choosing the “No” option.
Now that you know the two types of a multistep popup, I’ll be showing you how create these opt-ins. For this tutorial, we’ll be using OptinMonster, which is the tool I’ve used ever since it was just a WordPress plugin. Click the button below to grab yourself an OptinMonster account and follow along!
How to Create a Link-Based Opt-In
Step 1: Create The Campaign and Select Your Template
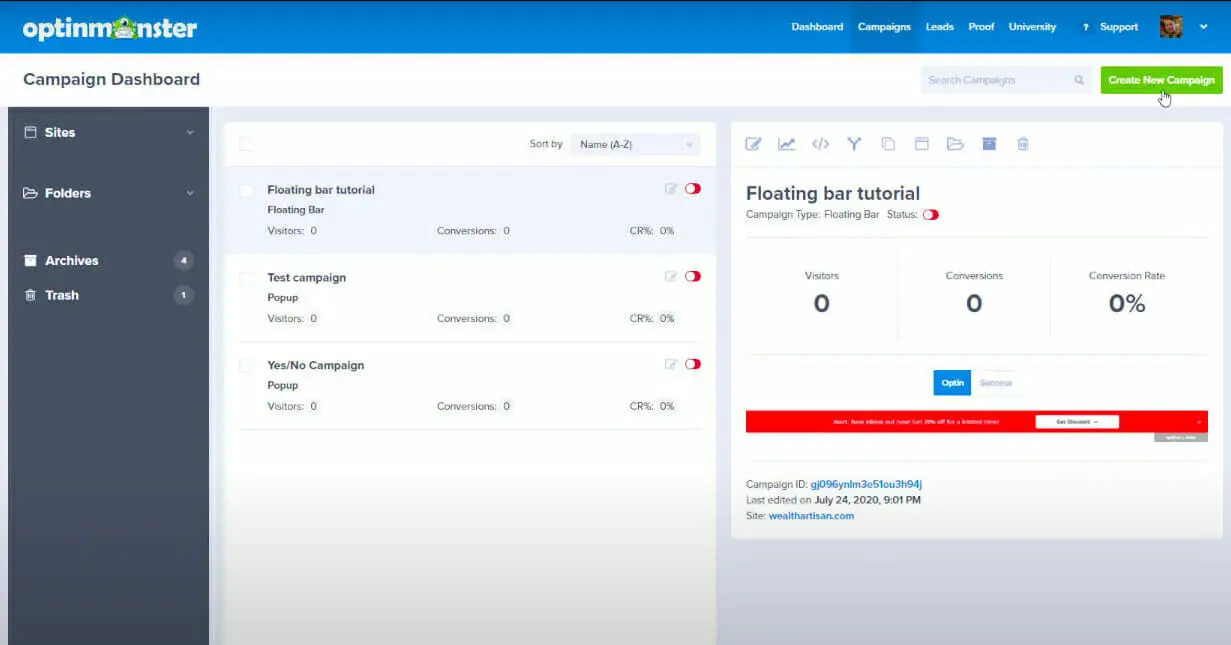
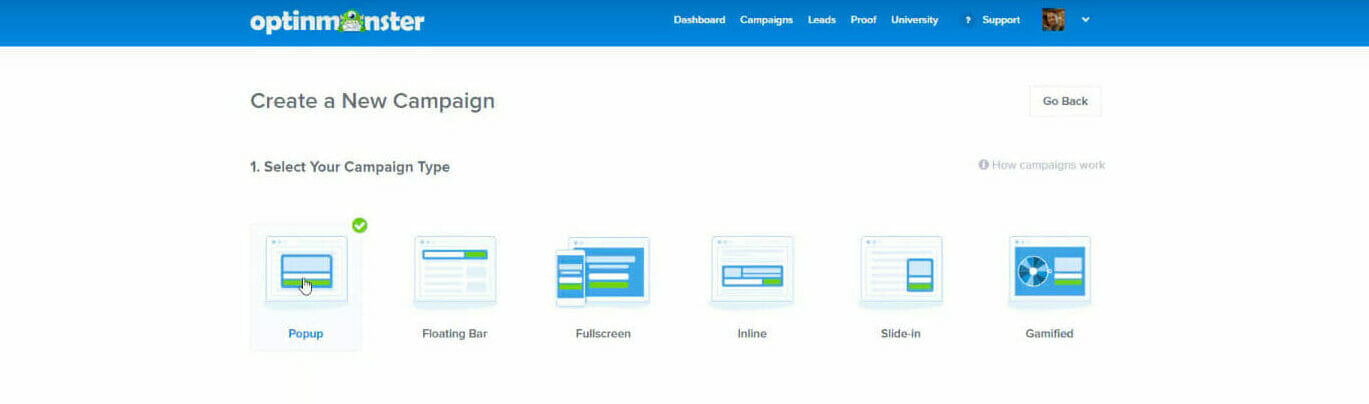
To create a link-based opt-in, start by clicking the “Create New Campaign” button on the upper right corner of the screen. Choose popup, and select the template you like.
Don’t forget to name your campaign with something you can identify it with. For instance, I named mine “Link Based Multistep Opt-in”.
Step 2: Build Your Optin Form
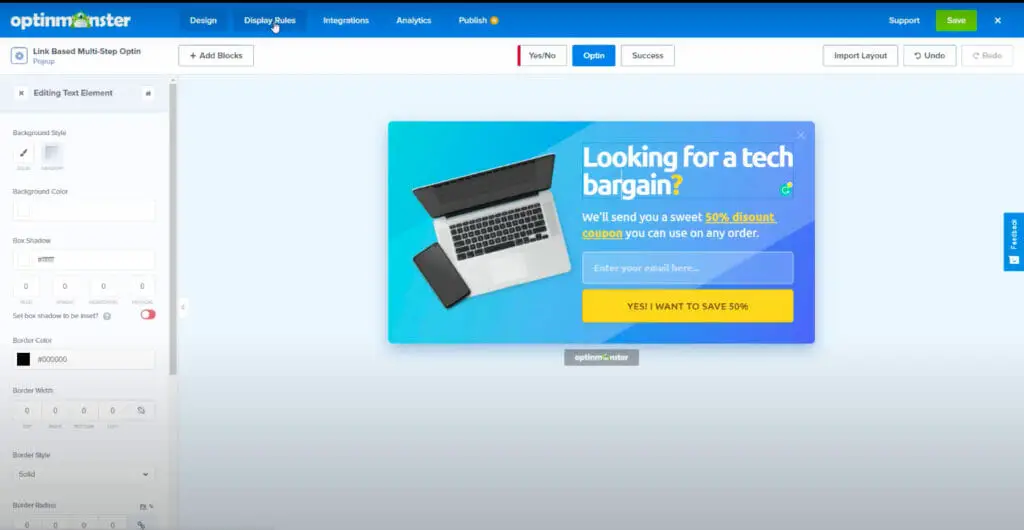
After these steps, you can now start building your popup.
When building your opt-in and success pages, you can update and change the text, colors, buttons, and appearance.
Step 3: Turn Your Optin Into A Link-based Multi-step by Enabling MonsterLinks
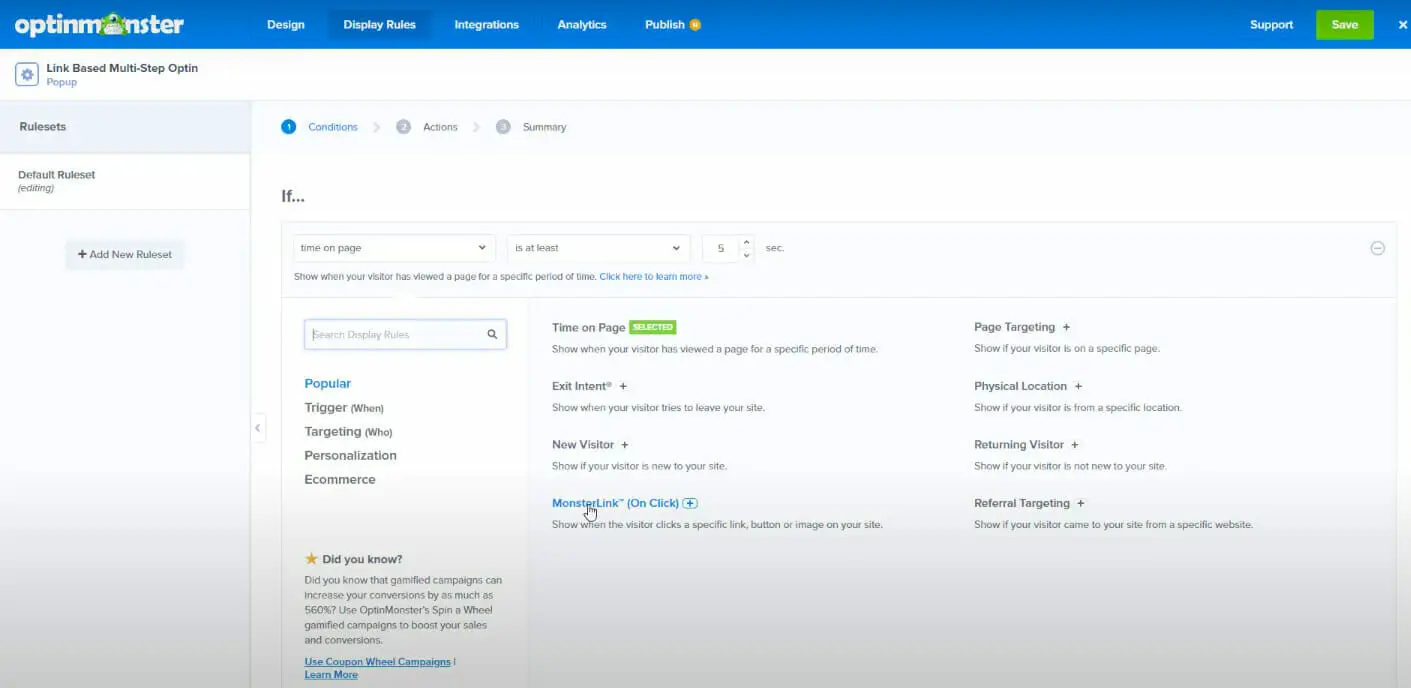
Once you’re happy with the opt-in and success pages, you can go ahead and click “Display Rules” from the menu bar.
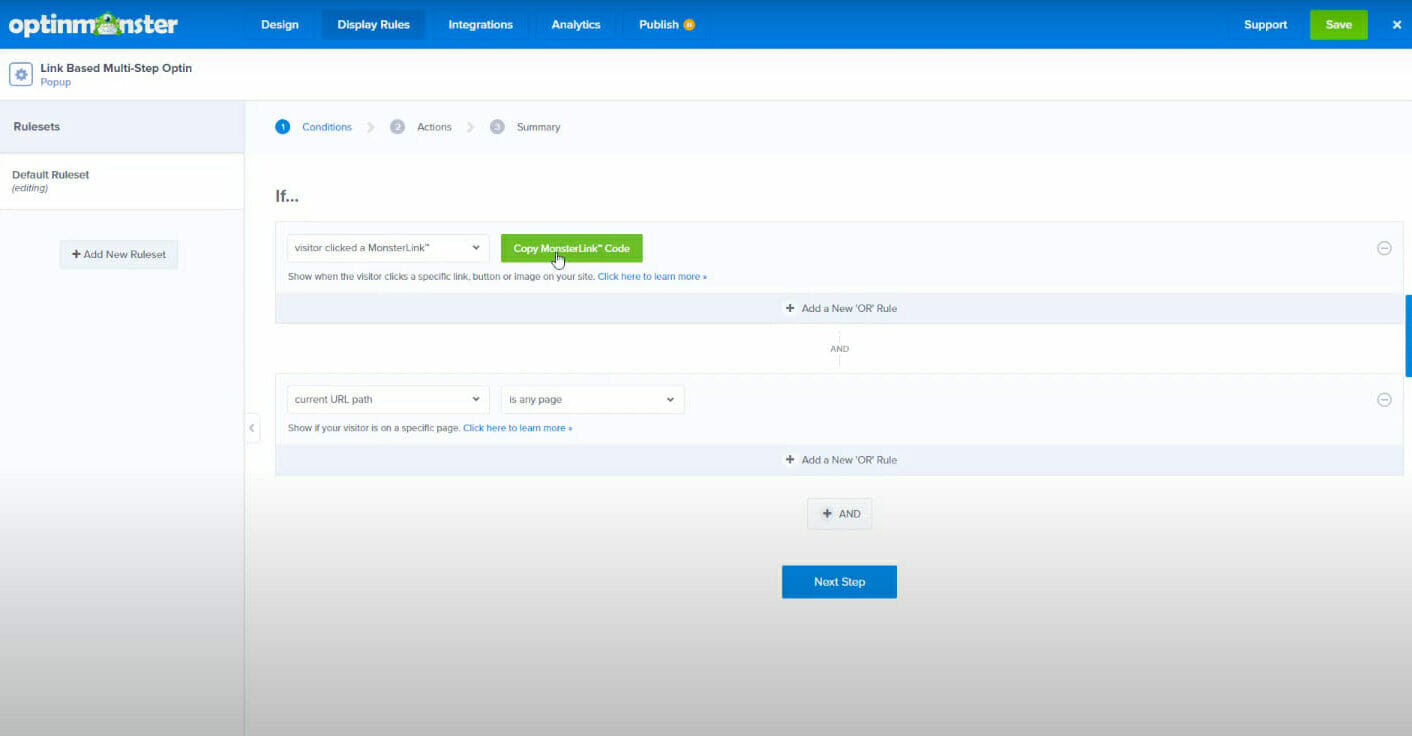
To make this a link-based opt-in, choose “MonsterLink (On Click)”. This shows the popup when the user clicks the link, button, or image you’ve provided on your site.
Don’t forget to copy the MonsterLink Code. Doing so gives you the HTML code you would paste in between your article texts to generate the link for the popup.
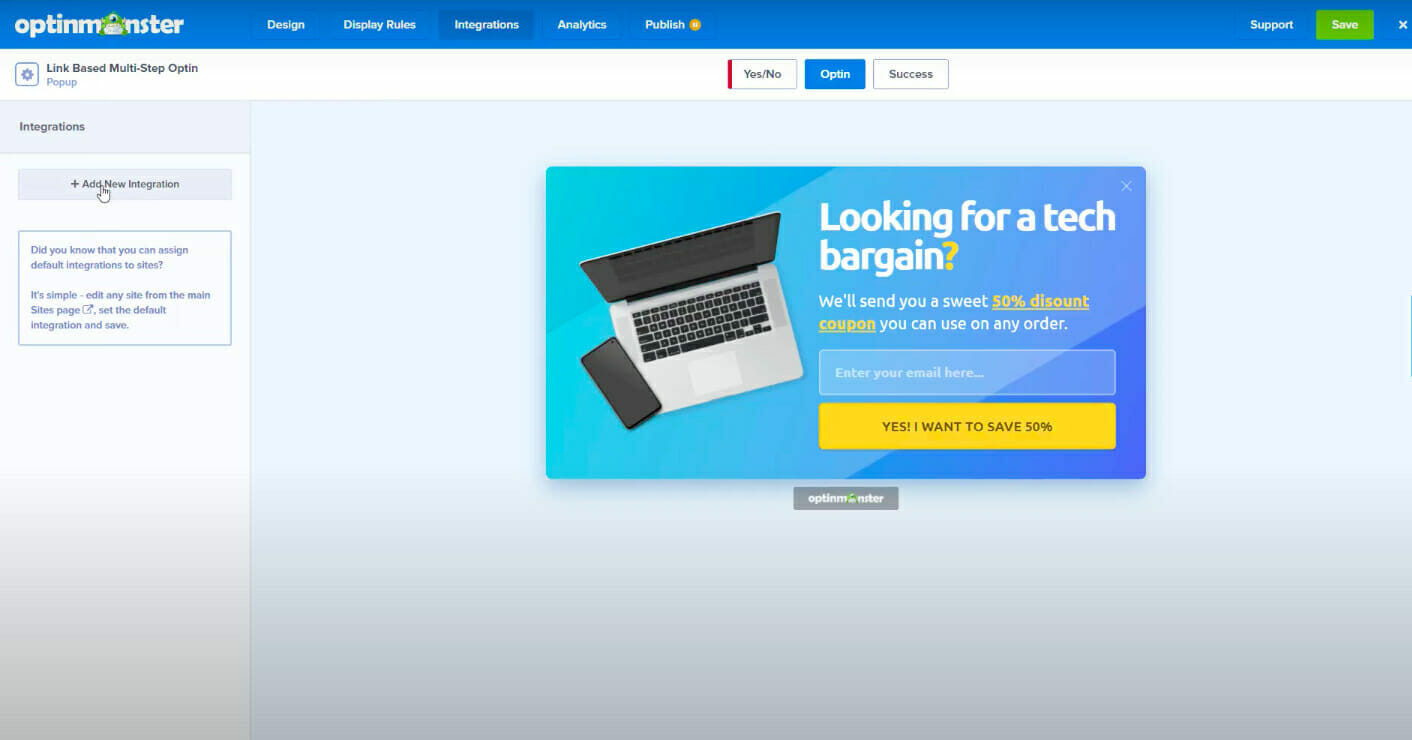
Step 4: Add An Email Integration If You Don’t Already Have One
Next, go to the “Integrations” on the menu bar, and click “Add New Integration” on the left sidebar. This enables you to add or integrate your email list provider.
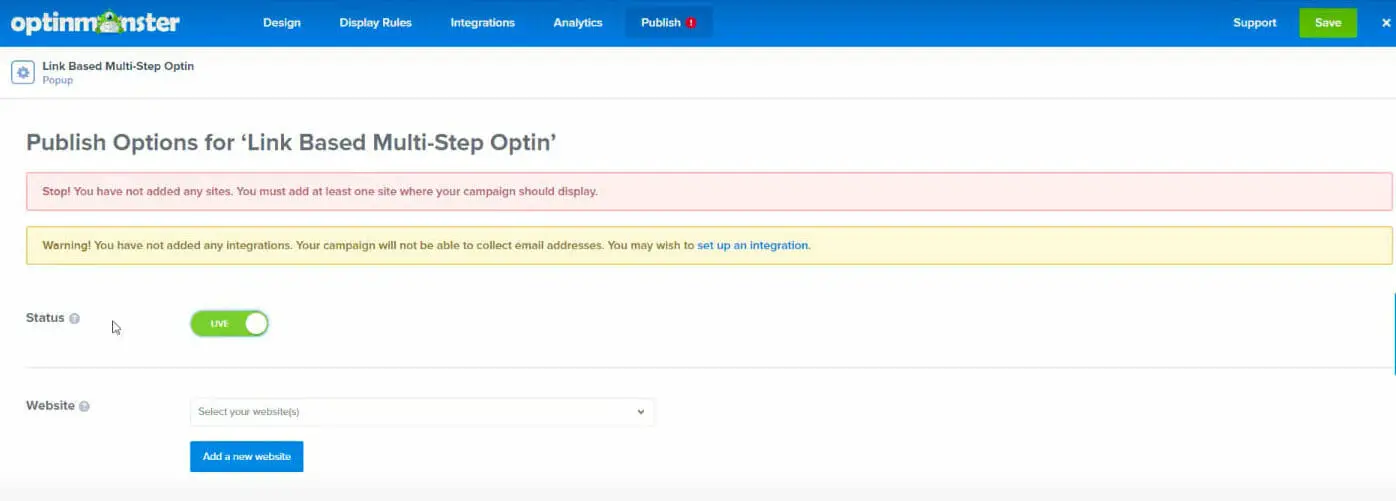
Step 5: Publish and Add It To Your Website
Once done, click “Publish” on the menu bar. Switch the status to “Live”, and add the website you’ll be publishing this opt-in to.
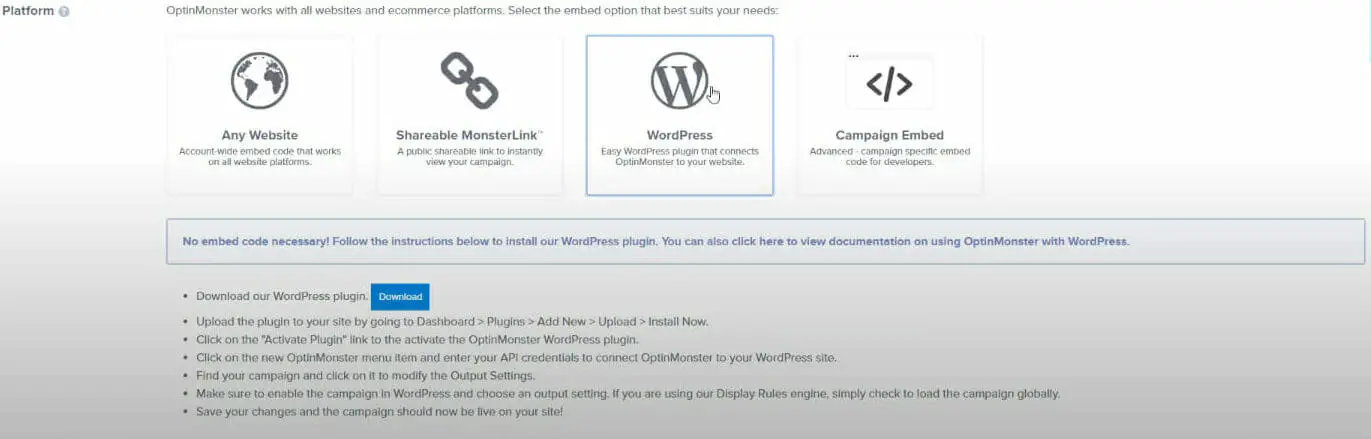
Choose the platform you’ll be embedding the pop up to. For WordPress, the platform has a helper plugin you can download and install into your website.
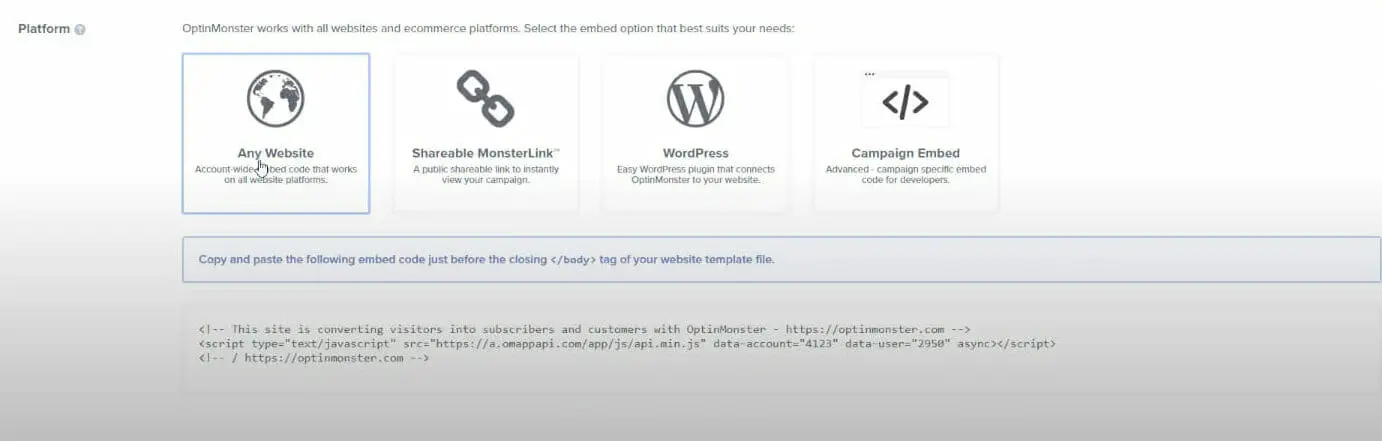
Meanwhile, if you’re on any other platform, choose the “Any Website” option, and you’ll be given a JavaScript snippet you can copy and paste.
Click the green “Save” button on the top right side of the screen, and you’re done!
How to Create a Yes/No Opt-In
Step 1: Create Your Yes/No Optin Campaign
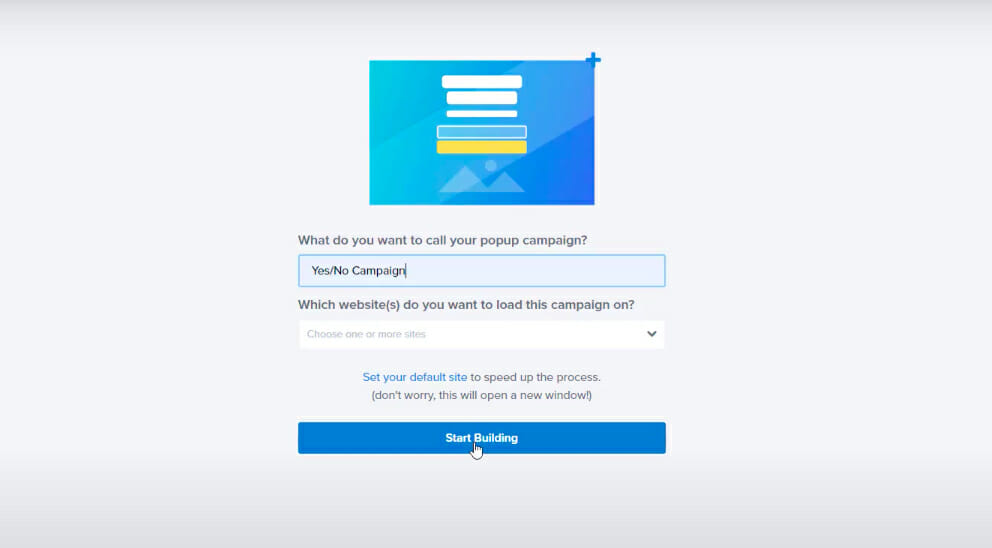
Same with how we started with our link-based opt-in, click the “Create New Campaign” button, choose popup, and select a template best suited with your brand.
Name your campaign appropriately—for this one I went with Yes/No Campaign—and click “Start Building”.
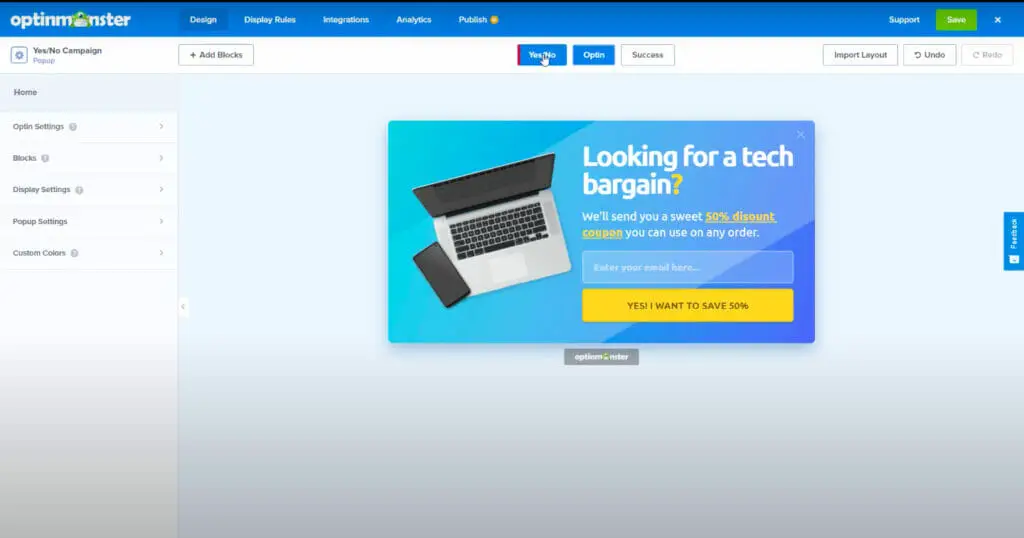
Step 2: Turn It Into A “Yes/No” Optin
As you can see, it doesn’t have a No option yet on the opt-in page. To make it a Yes/No campaign, click the “Yes/No” button on the upper center.
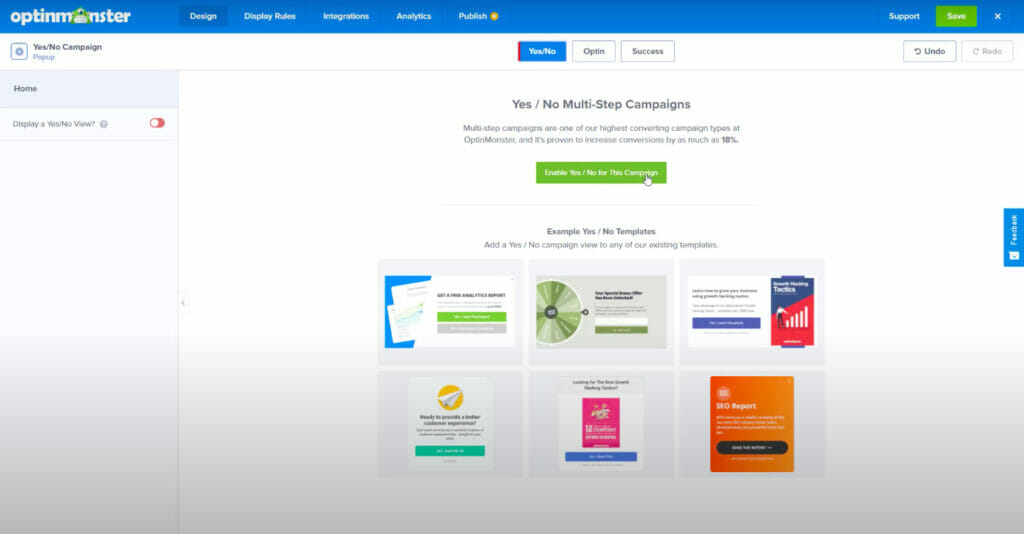
Click the “Enable Yes/No for this Campaign” button, and you’ll be redirected to the opt-in page, and you’ll see that the Yes and No option are now both available.
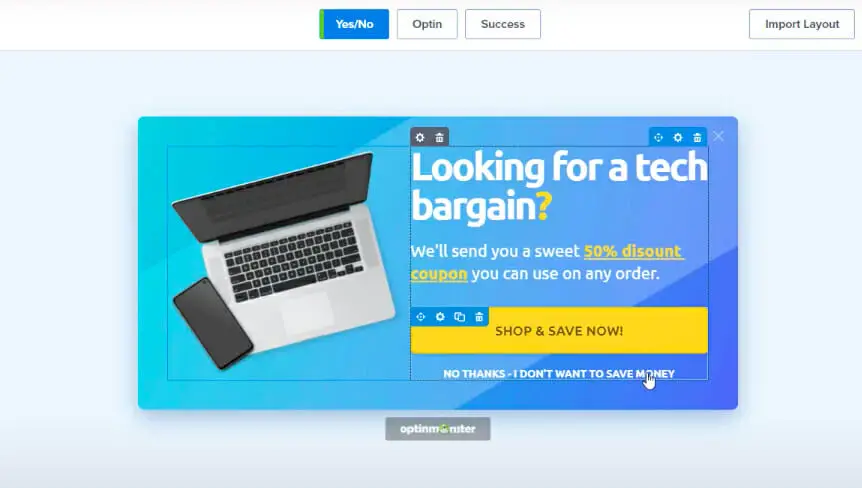
Step 3: Review and Update The “Yes/No” Text If Needed
Enabling the Yes/No option would give you the automatic phrases. However, you may change the texts and the appearance to make it more convincing.
Step 4: Select How You Want this Optin To Display On Your Website With The Display Rules
Once you’re satisfied with how it looks, proceed to “Display Rules”. Here you can choose how you want your multistep popup to show. The two most usual ways are Time on Page and Exit Intent.
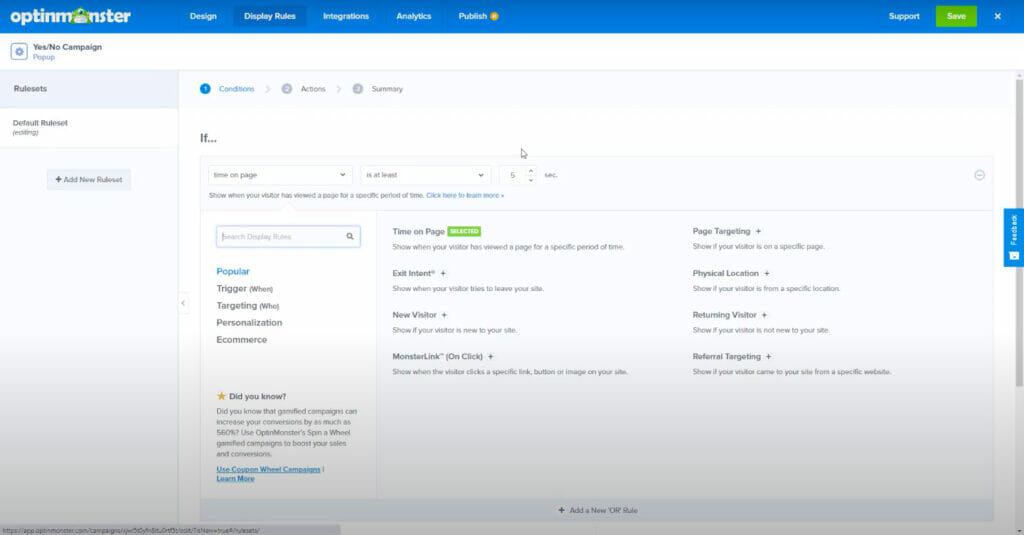
For the Time on Page option, the opt-in appears when the user has viewed the page at a period of time you’ve specified. Meanwhile, if you pick the Exit Intent option, your popup appears when it detects your mouse is about to exit your page.
You can also set it up like how we’ve done the link-based opt-in. However, unlike the previous example, it would first give you the yes or no option before showing the form.
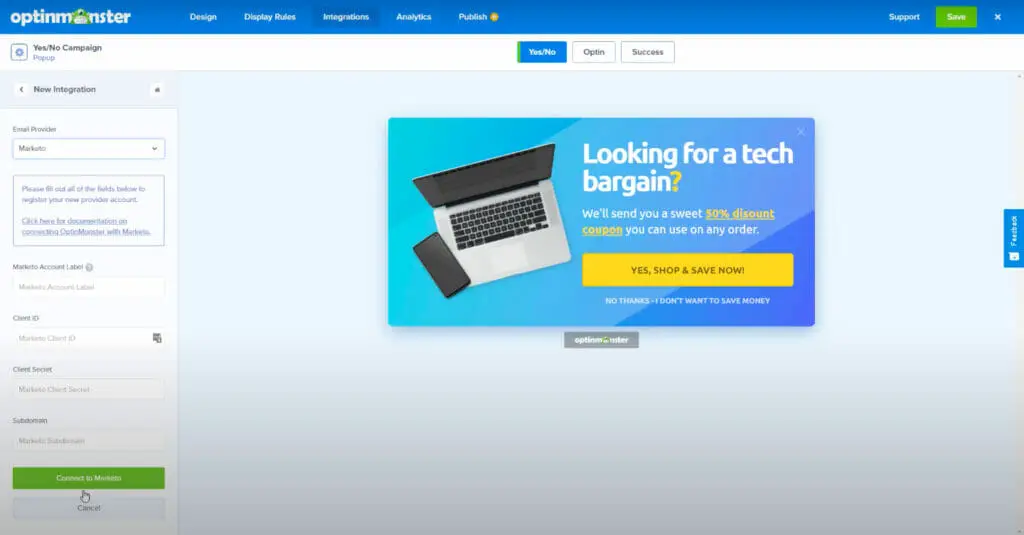
Step 5: Select Your Email Provider Or Add A New Integration
Next, you’re going to choose your Integration. What’s great about OptinMonster is that it lets you set up an email list provider account on the spot if you don’t have one yet.
Step 6: Publish Your Optin And Add It To Your Website
Once everything’s set up, go to “Publish”, switch the status to “Live”, enter your website, and choose a platform.
Click the “Save” button, and the opt-in will be available for use on your website!
Conclusion
There you have it! We’ve covered how you can boost your conversions through multistep popups, why this method works, and how you can easily create one.
What’s really great about making your multistep popups in OptinMonster is that it doesn’t only work for WordPress, but in other blogging platforms as well!
If you haven’t already, create your own OptinMonster account, and grow your email list!